A dryer not heating is usually caused by a blown thermal fuse, a broken heating element, or a clogged vent that prevents proper airflow. If you are experiencing a dryer not heating North Metro MN, check your circuit breakers and lint trap first; these common issues can often be resolved before calling for professional repair.
There is nothing more frustrating than pulling a load of laundry out of the drum only to find your clothes are still cold and damp. For homeowners in the North Metro, a dryer that refuses to heat is more than a minor annoyance; it is a disruption to the daily flow of a busy household. Ignoring the issue can lead to higher utility bills or even potential safety hazards. In this guide, we provide a practical look at why your appliance has lost its spark. You will learn how to troubleshoot external issues, test critical components like the heating element or thermal fuse, and understand the specific ventilation challenges we face here in Minnesota. Our goal is to give you the expert insight needed to determine if your dryer requires a quick adjustment or a professional repair.
Why is My Dryer Not Heating? Common Culprits in North Metro Homes
It is a frequent frustration for homeowners in the Twin Cities North Metro area to pull a load of laundry out after a full cycle only to find the clothes are still damp and stone cold. When the drum rotates and the timer counts down but the air remains chilly, the machine is essentially a very large, inefficient fan. While major brands like Whirlpool, Samsung, and Maytag share similar internal components, local infrastructure in Stacy or Forest Lake often dictates how these parts fail. Older homes in these communities frequently utilize long, convoluted venting systems that trap lint more aggressively than modern straight-shot vents.
In our experience providing professional appliance repair services, we find that three main culprits account for the vast majority of calls regarding a dryer not heating North Metro MN:
Blown Thermal Fuses: A safety device that cuts power to the heat source if the internal temperature gets too high.
Failed Heating Elements: Especially in electric units, the metal coils can break or burn out over time.
Clogged Ventilation: Airflow restriction is the leading cause of overheating and component failure.
Identifying which of these is affecting your machine requires a methodical approach. If your unit is aging and these repairs become frequent, exploring our discounted inventory and reconditioned appliances may be more cost effective than repeated service calls. However, many heating issues can be diagnosed or even prevented with the right knowledge of the Twin Cities North Metro area housing styles.
Safety First: Before You Troubleshoot Your Appliance
Before reaching for your screwdriver, you must prioritize your physical safety. A dryer is not a low-voltage device. Most electric dryers in the Twin Cities North Metro area operate on a dedicated 240-volt circuit, which carries significantly more current than a standard household outlet. This level of electricity can be lethal. Simply turning the machine off at the control panel is insufficient; you must physically unplug the power cord from the wall outlet to ensure the unit is entirely depowered.
If you are troubleshooting a gas model, you are dealing with two distinct hazards. In addition to unplugging the power cord, you must locate the gas supply line behind the unit and turn the manual shut-off valve to the closed position. This prevents accidental gas leaks while you access internal components. Professional appliance repair services always begin with these isolation steps. Never attempt to bypass these measures for a quick fix. Taking two minutes to secure the work area prevents a standard maintenance task from turning into a dangerous electrical or fire hazard.
The Most Common External Causes: Check These First
Before you assume a component has failed, look at the external systems supporting the appliance. A common oversight in many households across the Twin Cities North Metro area involves the electrical panel. Most electric dryers utilize a 240-volt circuit, which requires a double-pole breaker. It is possible for one leg of this breaker to trip while the other remains active. This specific failure causes a confusing symptom: the dryer drum will spin and the lights will turn on, but the heating element will not receive enough voltage to get hot. Locate your home breaker panel, switch the dryer breaker completely to the off position, and then flip it firmly back to the on position to ensure both legs are engaged.
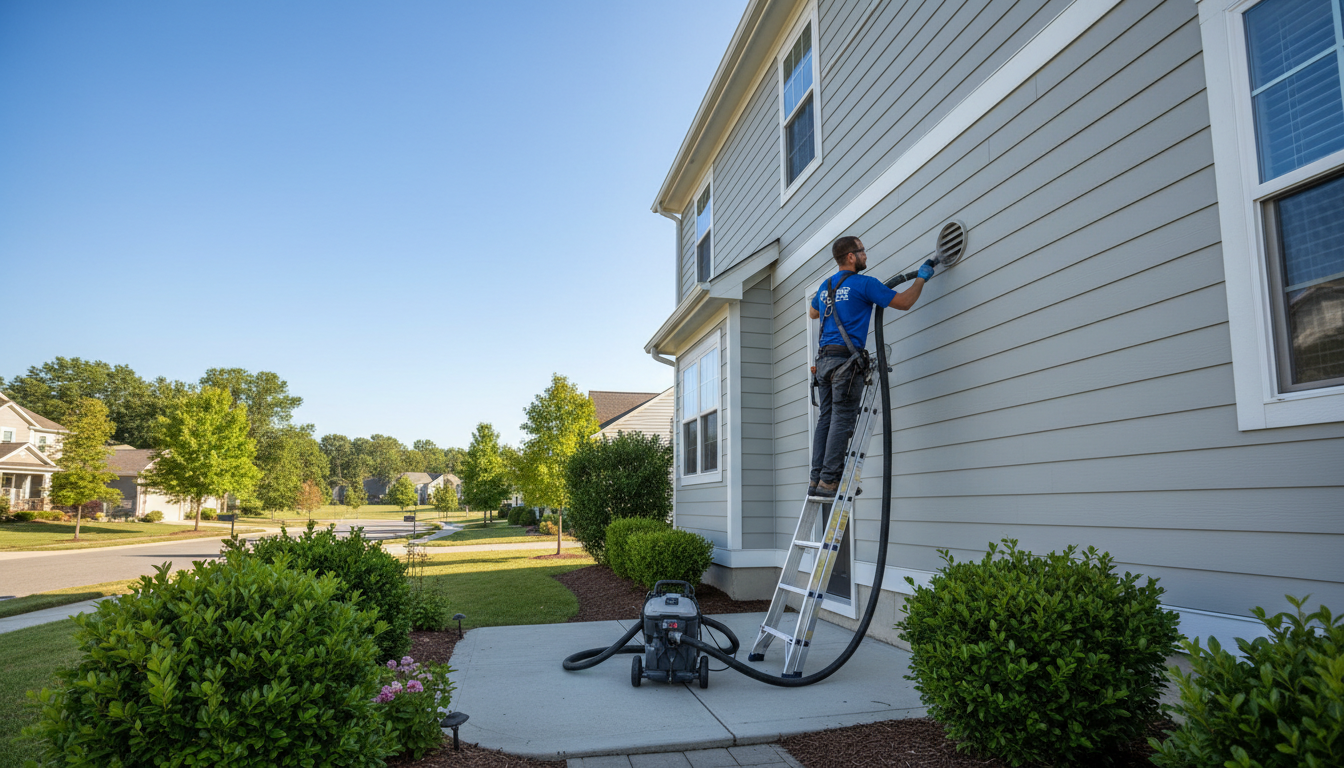
Airflow restriction is the next primary suspect. A dryer is designed to move a specific volume of hot, moist air out of your home. If the vent is clogged with lint, the internal temperature rises rapidly, reaching a point where internal safety sensors automatically shut off the heat to prevent a house fire. In our local climate, Minnesota winters present unique challenges. Heavy snow can drift against the foundation and block the exterior vent hood, or freezing condensation can cause the vent flap to stick shut. A dryer blowing cold air is often simply the machine protecting itself from a fire hazard.
Perform these three quick checks: 1. Inspect the lint screen inside the dryer and ensure it is cleaned after every single load. 2. Walk outside and check the exterior exhaust hood. Ensure the flaps move freely and are not obstructed by ice, snow, or debris. 3. Feel the air coming out of the vent while the dryer is running. It should be a strong, warm breeze.
If you find that the air is barely moving, you likely have a significant blockage in the ductwork. If checking these external factors does not resolve the issue of a dryer not heating North Metro MN, the problem likely resides within the unit itself, requiring more technical professional appliance repair services.
Electric Dryer Not Heating: Testing the Heating Element and Thermal Fuse
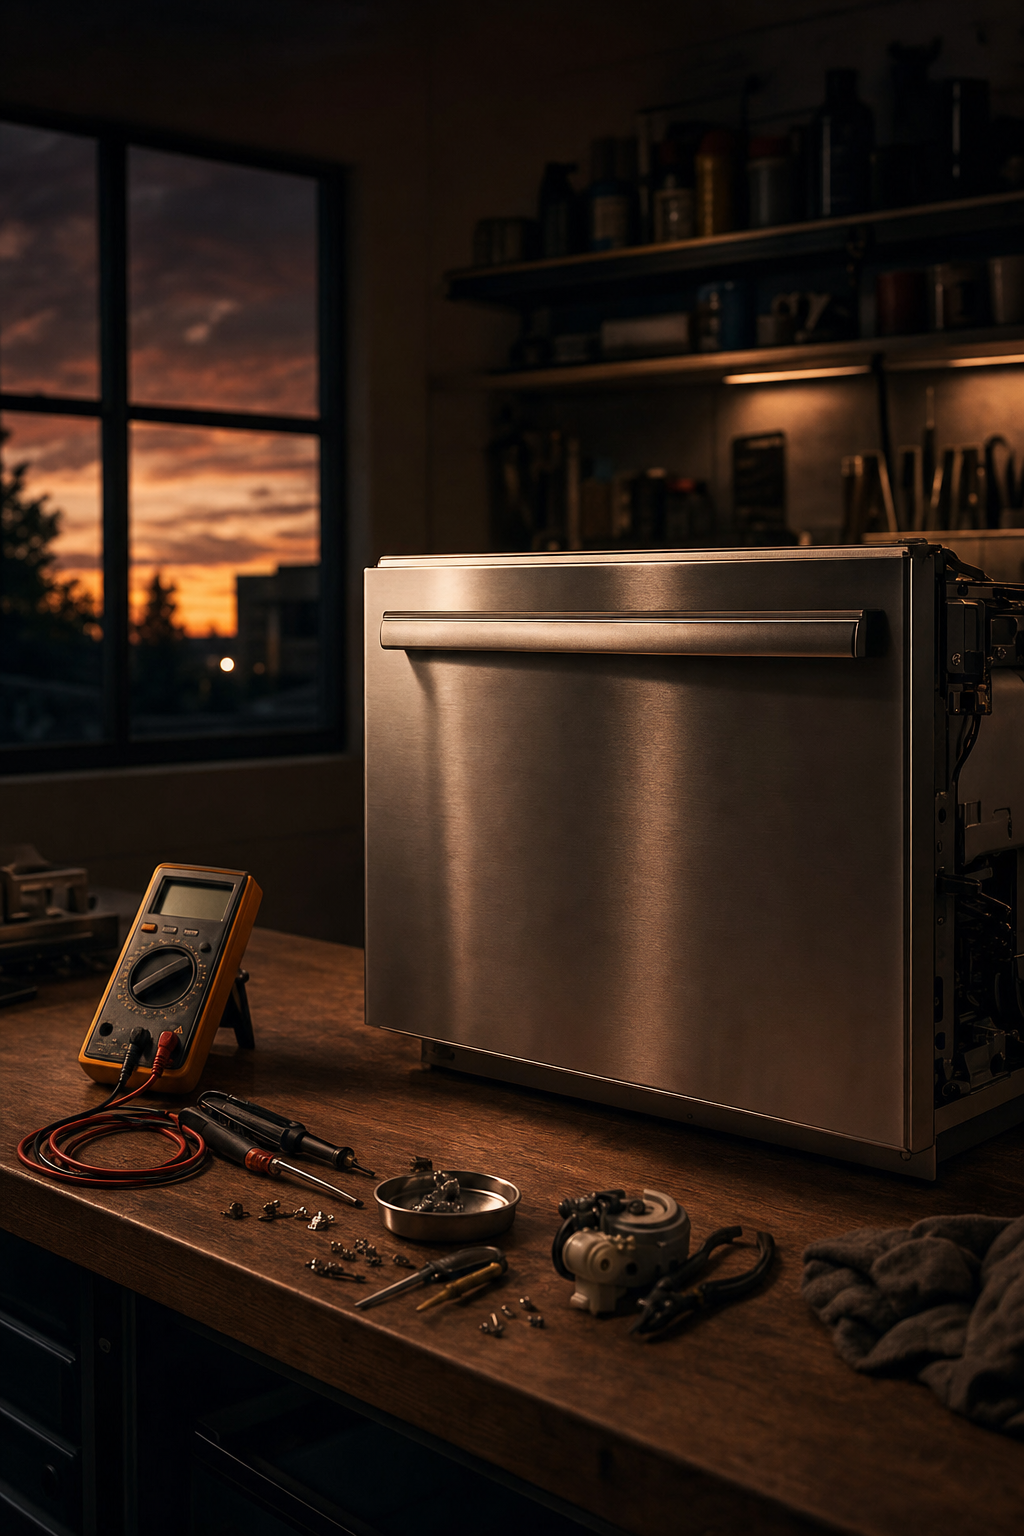
If you have confirmed that your breakers are set and the exterior vent is clear, the problem likely lies with the internal electrical components. In an electric dryer, the heating element serves as the heart of the system. This component consists of a long, coiled wire made of a nickel-chrome alloy, similar to the elements found in a toaster. When the dryer is running, electricity flows through this coil, creating resistance that generates the heat necessary to dry your clothes. Over time, usually after eight to ten years of service in the Twin Cities North Metro area, these coils become brittle. A break in the wire, even one as small as a hairline fracture, interrupts the electrical circuit and results in a dryer not heating North Metro MN homeowners often experience.
The thermal fuse acts as the primary safety gate for this system. This small, plastic-housed device is designed to fail permanently, or "pop," if the internal temperature of the dryer cabinet exceeds a safe threshold. It is critical to understand that a blown thermal fuse is rarely the root cause of a failure; it is a symptom of a larger problem. Almost every blown fuse we encounter during professional appliance repair services is the result of restricted airflow. If you replace a blown fuse without thoroughly cleaning your dryer vents, the new fuse will likely blow again within a few weeks, as the underlying overheating issue remains unresolved.
To diagnose these components, you will need a digital multimeter set to the lowest setting for Ohms (Ω) or the continuity setting (often represented by a sound wave icon). Testing is a straightforward process:
Ensure the dryer is completely unplugged.
Access the heating element and thermal fuse by removing either the back panel or the front bottom toe kick, depending on your model.
Remove at least one wire from the component you are testing to prevent "back-feeding" through the rest of the circuit.
Place one probe on each terminal of the component.
If the multimeter shows "0" or a very low resistance reading (and beeps on the continuity setting), the part is functional. If the meter displays "OL" (Open Line) or stays at "1," the component has failed and requires replacement. If you find multiple failed components or feel uncomfortable navigating the internal wiring, our team offers discounted inventory and reconditioned appliances as a reliable alternative to repairing an aging, inefficient machine.
Gas Dryer Not Heating: Troubleshooting the Igniter and Flame Sensor
If your home uses a gas dryer, the troubleshooting process deviates significantly from the electrical coil testing mentioned previously. Gas units rely on a burner assembly to produce heat, which includes an igniter, a flame sensor, and a set of gas valve solenoids. To diagnose a gas dryer not heating North Metro MN residents often start by observing the burner through the small inspection port, typically located on the bottom front or side of the machine.
In a properly functioning system, the igniter will glow white-hot for several seconds to signal the gas valve to open. If you look through the port and see no glow at all, the igniter has likely cracked or burned out. Because these components are extremely fragile, even a small hairline fracture from years of vibration can prevent them from heating up. Testing for continuity with a multimeter, similar to testing an electric element, will confirm if the part has failed.
A more deceptive scenario occurs when the igniter glows brightly, but no flame follows. If the igniter turns on and then clicks off without igniting a fire, the problem usually lies with the gas valve solenoids. These small electromagnetic coils are responsible for physically pulling the gas valve open. Over time, the coils can weaken; they may work for the first cycle but fail as they get warm. If you find yourself repeatedly resetting the dryer to get one load dry, the solenoids are likely the culprit. For complex gas-related issues, seeking professional appliance repair services is the safest route. If the repair costs for these specialized components begin to climb, visiting our showroom in Stacy to browse discounted inventory and reconditioned appliances is a practical alternative for homeowners throughout the Twin Cities North Metro area.
Local Insights: Why North Metro MN Ventilation Matters
Homes throughout the Twin Cities North Metro area, particularly in established residential pockets in North Branch, Chisago City, and Lino Lakes, often feature architectural layouts that are inherently tough on dryers. Unlike modern apartments where the dryer might sit against an exterior wall, these suburban and rural homes frequently have laundry rooms located in the center of the house or the basement. This configuration requires exhaust ducts to travel twenty or thirty feet through crawlspaces or joists before reaching the outdoors.
Long vent runs create significant static pressure. As the distance increases, the velocity of the air drops, which allows heavy, damp lint to settle inside the pipe rather than being exhausted outside. Over time, this accumulation acts like a clogged artery. The dryer must work significantly harder to move air against this resistance, leading to the premature failure of heating elements and thermal fuses. If you are struggling with a dryer not heating North Metro MN technicians frequently find that these hidden blockages are the primary culprit.
We recommend a seasonal vent inspection and cleaning as a vital preventative measure for any resident in the Twin Cities North Metro area. Ensuring your ductwork is clear not only protects your machine but also reduces energy costs. For homeowners dealing with chronic airflow issues, our professional appliance repair services can help identify if your venting meets modern safety standards or if it is time to browse our discounted inventory and reconditioned appliances for a more robust model.
Repair vs Replace: Is It Worth Fixing a Dryer That Won't Heat?
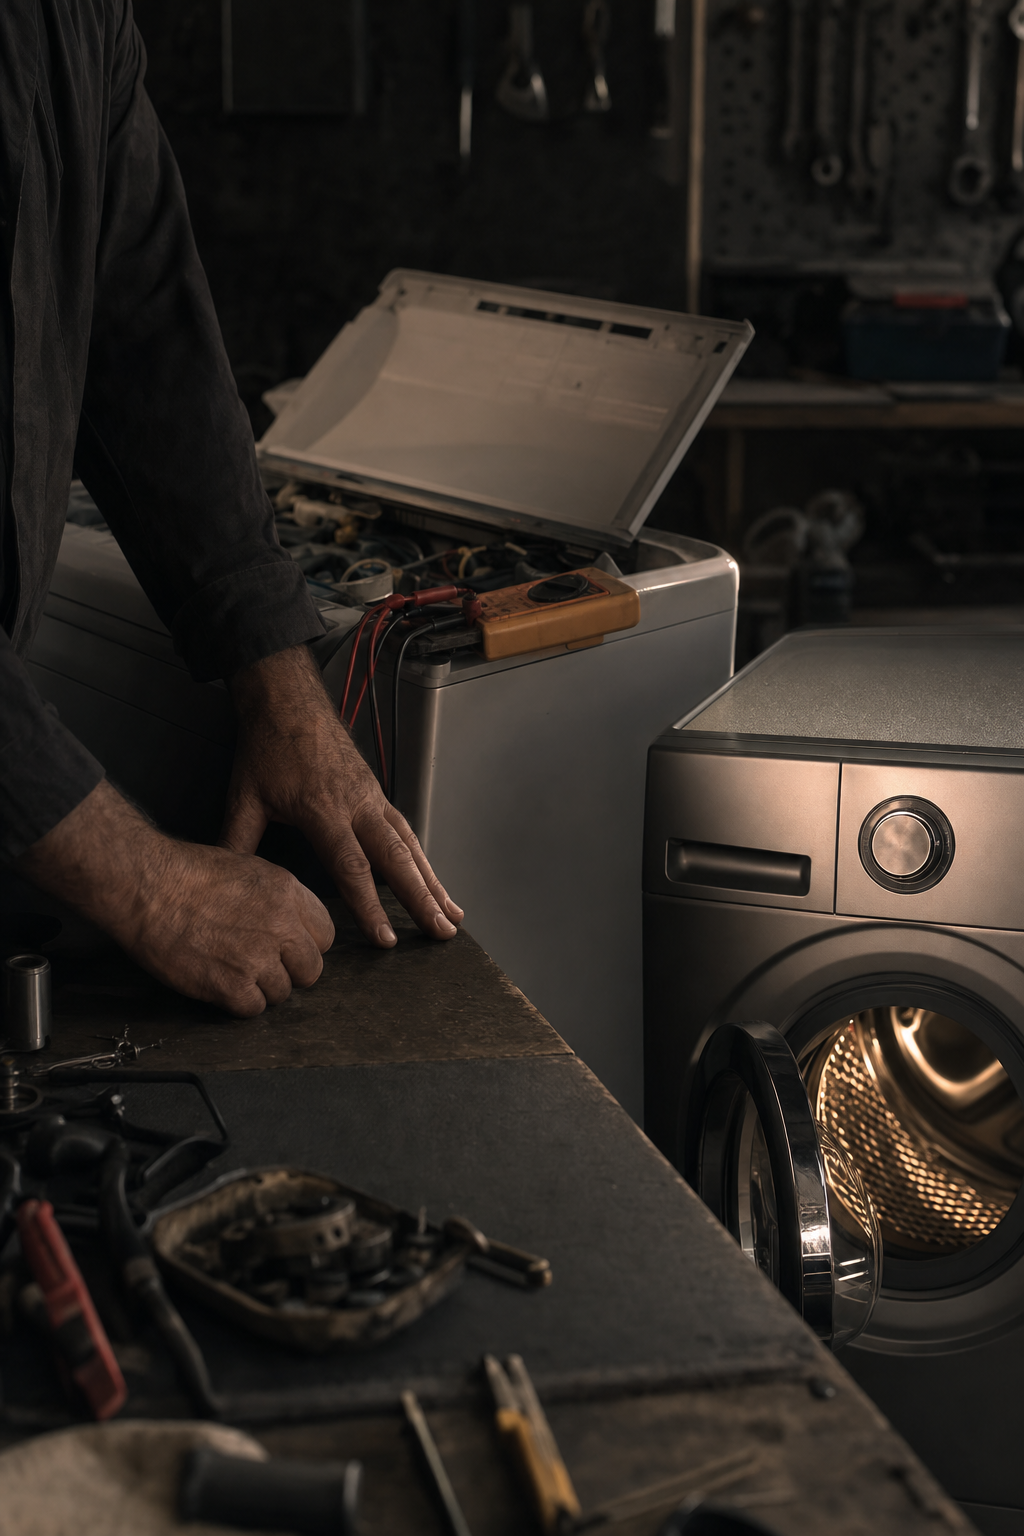
Deciding whether to invest in a repair or purchase a new unit depends heavily on the age of the machine and the specific part that failed. When dealing with a dryer not heating North Metro MN homeowners should generally follow the 50% rule: if the cost of the repair exceeds half the price of a new appliance, replacement is the more economical path.
Component | Estimated Repair Cost (Parts & Labor) | Typical Recommendation |
|---|---|---|
Thermal Fuse | $110 – $180 | Repair (Must clean vents too) |
Heating Element | $160 – $260 | Repair if unit is < 10 years old |
Gas Valve Solenoids | $150 – $230 | Repair |
Drive Motor | $300 – $450 | Consider Replacement |
Main Control Board | $350 – $600 | Consider Replacement |
For appliances under eight years old, simple fixes like a thermal fuse or igniter are cost effective ways to restore function. However, once a dryer surpasses the 10 to 12-year mark, the mechanical components like drum bearings and seals are often near the end of their lifecycle. Investing several hundred dollars into a new control board for an aging machine often leads to "repair chasing," where one fix is immediately followed by another failure.
If a major component has failed on an older unit, visiting our Stacy showroom to browse discounted inventory and reconditioned appliances is a practical solution. We offer high-quality scratch-and-dent and open-box models that provide modern efficiency at a lower price point than standard retail. For residents across the Twin Cities North Metro area who need a definitive diagnosis before deciding, our professional appliance repair services can identify the exact fault and provide a transparent quote to help you make the best choice for your home and budget.